How To Use A Clamp On Multimeter Explained: A UK Buyer's Guide
TL;DR: How to Use a Clamp On Multimeter: To quickly and safely use a clamp-on multimeter, simply turn the dial to the appropriate AC or DC current setting, zero the meter (if measuring DC), and clamp the jaws around a single Line (Live) or Neutral wire. Never clamp the entire twin-and-earth cable. Finally, ensure the conductor is positioned in the centre of the jaws for the most accurate True RMS reading.
Learning exactly how to use a clamp on multimeter is a fundamental skill for modern electrical fault-finding, allowing you to measure current safely without breaking the circuit. According to the Health and Safety Executive (HSE), electrical incidents in UK workplaces account for roughly 1,000 accidents annually, with many more near-misses going unreported. Therefore, whether you are a certified electrician navigating the complexities of BS 7671 (the IET Wiring Regulations), an automotive technician diagnosing battery drain, or a competent DIY enthusiast checking a domestic appliance, safety and accuracy are absolutely non-negotiable. Consequently, mastering your test equipment becomes critical.
Unlike traditional digital multimeters that require you to physically disconnect wires to measure current in series, a clamp meter allows for non-invasive, highly accurate readings. By simply clamping the jaws around a live conductor, you can instantly measure the magnetic field generated by the current flowing through it.
In this comprehensive UK buyer's guide, we will walk you through the of using a clamp meter safely and effectively. Furthermore, we will highlight common pitfalls to avoid and explain how to leverage compact AC/DC True RMS testing for tighter panels, vehicles, and everyday fault-finding.
Key Takeaways
- Never clamp the whole cable: To get an accurate current reading, you must clamp only the Line (Live) or Neutral wire, not the entire twin and earth cable.
- Zero the meter for DC: When measuring Direct Current (vital for automotive diagnostics), you must always use the 'Zero' or 'Relative' function to remove interference from the Earth's magnetic field.
- Safety first: Always ensure your clamp meter meets the appropriate CAT rating (e.g., CAT III 600V) for domestic and commercial UK mains testing.
- True RMS is essential: For modern UK homes and workplaces filled with non-linear loads like LED lighting and electronics, a True RMS meter is required for accurate AC readings.
What is a Clamp-On Multimeter and How Does it Work?
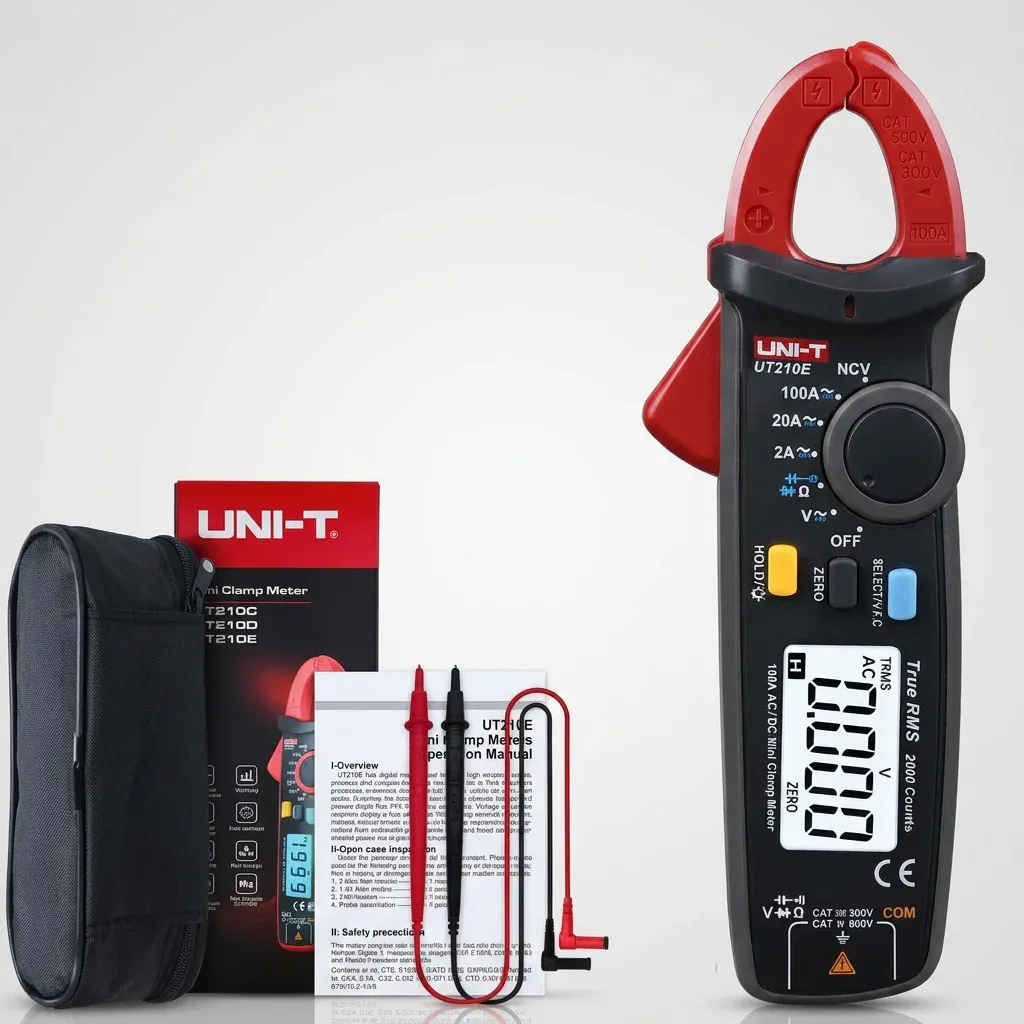
Before diving into the operational steps, it is essential to understand the anatomy of the tool. A digital clamp meter is essentially a hybrid device. Primarily, it combines the non-contact current-measuring capabilities of a current sensor (the jaws) with the voltage, resistance, and continuity functions of a standard digital multimeter (via the test lead ports).
The core technology relies on the transformer principle for Alternating Current (AC) and Hall Effect sensors for Direct Current (DC). Whenever current flows through a wire, it naturally generates a magnetic field. Subsequently, the jaws of the clamp meter detect this field and convert it into a readable current value displayed on the screen. For a deeper dive into the underlying technology, you can explore our comprehensive guide to AC/DC current clamp meters in the UK.
What Safety Precautions Should I Take Before Using a Clamp Meter?
Working with the UK mains supply (nominally 230V AC at 50Hz) carries inherent risks. According to UK safety guidelines, before operating your clamp-on multimeter, you must observe strict safety protocols:
- Check the CAT Rating: Ensure your meter is rated appropriately for the environment. For instance, testing inside a standard UK consumer unit requires a minimum of CAT III 300V (though CAT III 600V is highly recommended).
- Inspect the Equipment: Visually inspect the clamp jaws to ensure they are clean and align perfectly when closed. Any dirt or misalignment will distort the magnetic field and lead to inaccurate readings. Additionally, check your test leads for any signs of cracking or exposed wire, ensuring they fully comply with HSE GS38 guidelines.
- Wear Appropriate PPE: When working on live panels, suitable insulated gloves and eye protection should always be worn.
How Do You Use a Clamp-On Multimeter Step-by-Step?
Whether you are measuring the draw of a domestic heating element or checking the alternator output on a commercial vehicle, the core process of using a clamp meter remains remarkably consistent. Follow these steps for safe and accurate current measurement.
Step 1: What Setting Should I Use on My Clamp Meter?
Firstly, turn the rotary dial on your clamp meter to the current setting. This is typically denoted by an 'A' (Amperes) accompanied by a squiggly line for AC (~), a straight line for DC (⎓), or both if you are using an advanced AC/DC True RMS model. Moreover, if your meter is not auto-ranging, be sure to select a range that is higher than your expected reading to avoid overloading the device.
Step 2: How Do I Zero a DC Clamp Meter?
If you are measuring AC current, you can usually proceed directly to clamping. However, if you are measuring DC current—which is common in automotive fault-finding, solar PV installations, and battery testing—you must zero the meter first.
Based on our extensive testing at MiniDigitalC, DC clamp meters use sensitive Hall Effect sensors that can inadvertently pick up the Earth's magnetic field or residual magnetism in the jaws. To resolve this, hold the meter in the exact orientation and location where you intend to take the measurement (but without the wire inside the jaws) and press the 'Zero', 'Rel' (Relative), or 'DC Zero' button. Consequently, the display should drop to exactly 0.00A.
Step 3: Why Must I Isolate a Single Conductor?
Undoubtedly, this is the most common mistake made by beginners learning how to use a clamp on multimeter. You cannot simply clamp the meter around a standard UK twin and earth cable or a standard appliance flex.
Because the Line (Brown) and Neutral (Blue) wires carry current in opposite directions, their magnetic fields cancel each other out. Therefore, if you clamp the whole cable, your meter will read zero (or very close to it). You must separate the wires and clamp the jaws around only one conductor—typically the Line wire. If you are testing an appliance and cannot strip the outer sheath, you can instead use an AC line splitter, which safely separates the live and neutral wires for testing purposes.
Step 4: How Should I Position the Wire in the Jaws?
Next, open the jaws by pressing the trigger and carefully enclose the single wire. Release the trigger to allow the jaws to snap shut securely. For the highest degree of accuracy, try to position the wire as close to the centre of the jaws as possible. Fortunately, most high-quality clamp meters feature alignment marks engraved on the plastic jaws to help you precisely centre the conductor.
Step 5: How Do I Read and Hold the Display Value?
Finally, read the current value on the digital display. If you happen to be working in a cramped, poorly lit UK consumer unit or deep inside a vehicle engine bay, simply press the 'Hold' button. This convenient feature freezes the reading on the screen, thereby allowing you to remove the meter and read the value comfortably in better light.
Can a Clamp Meter Measure Voltage and Continuity?
A high-quality clamp meter from MiniDigitalC is not just for measuring current; it functions as a comprehensive digital multimeter when you plug in the standard test leads. Furthermore, this allows you to measure AC/DC voltage, test circuit resistance, and check continuity in accordance with safe isolation procedures. Always ensure your test leads are properly seated and rated for the voltage you are testing.
Ready to try MiniDigitalC?
Shop Now — £73.87